Video editing is more than arranging footage into a finished sequence. The techniques an editor chooses influence how viewers follow a story, understand information and respond to what they see. Split-screen editing, cuts and transitions, B-roll integration, and pacing and rhythm are four techniques that can improve storytelling by controlling what viewers see, when they see it and how scenes connect.
Different videos call for different editing decisions. A split screen can show two actions happening simultaneously, while a J-cut can introduce the sound of an upcoming scene before the picture changes. Carefully selected B-roll helps illustrate important details, and adjustments to pacing give viewers time to absorb information or experience the energy of a moment.
At 1 Minute Media, we use video editing to shape raw footage into videos that communicate a clear message. That involves making deliberate choices about shot selection, timing, audio and visual continuity—not simply adding effects to make footage look more dynamic. Let’s explore how these four techniques work and when each is most effective.
Table of Contents
1. Split-Screen Editing
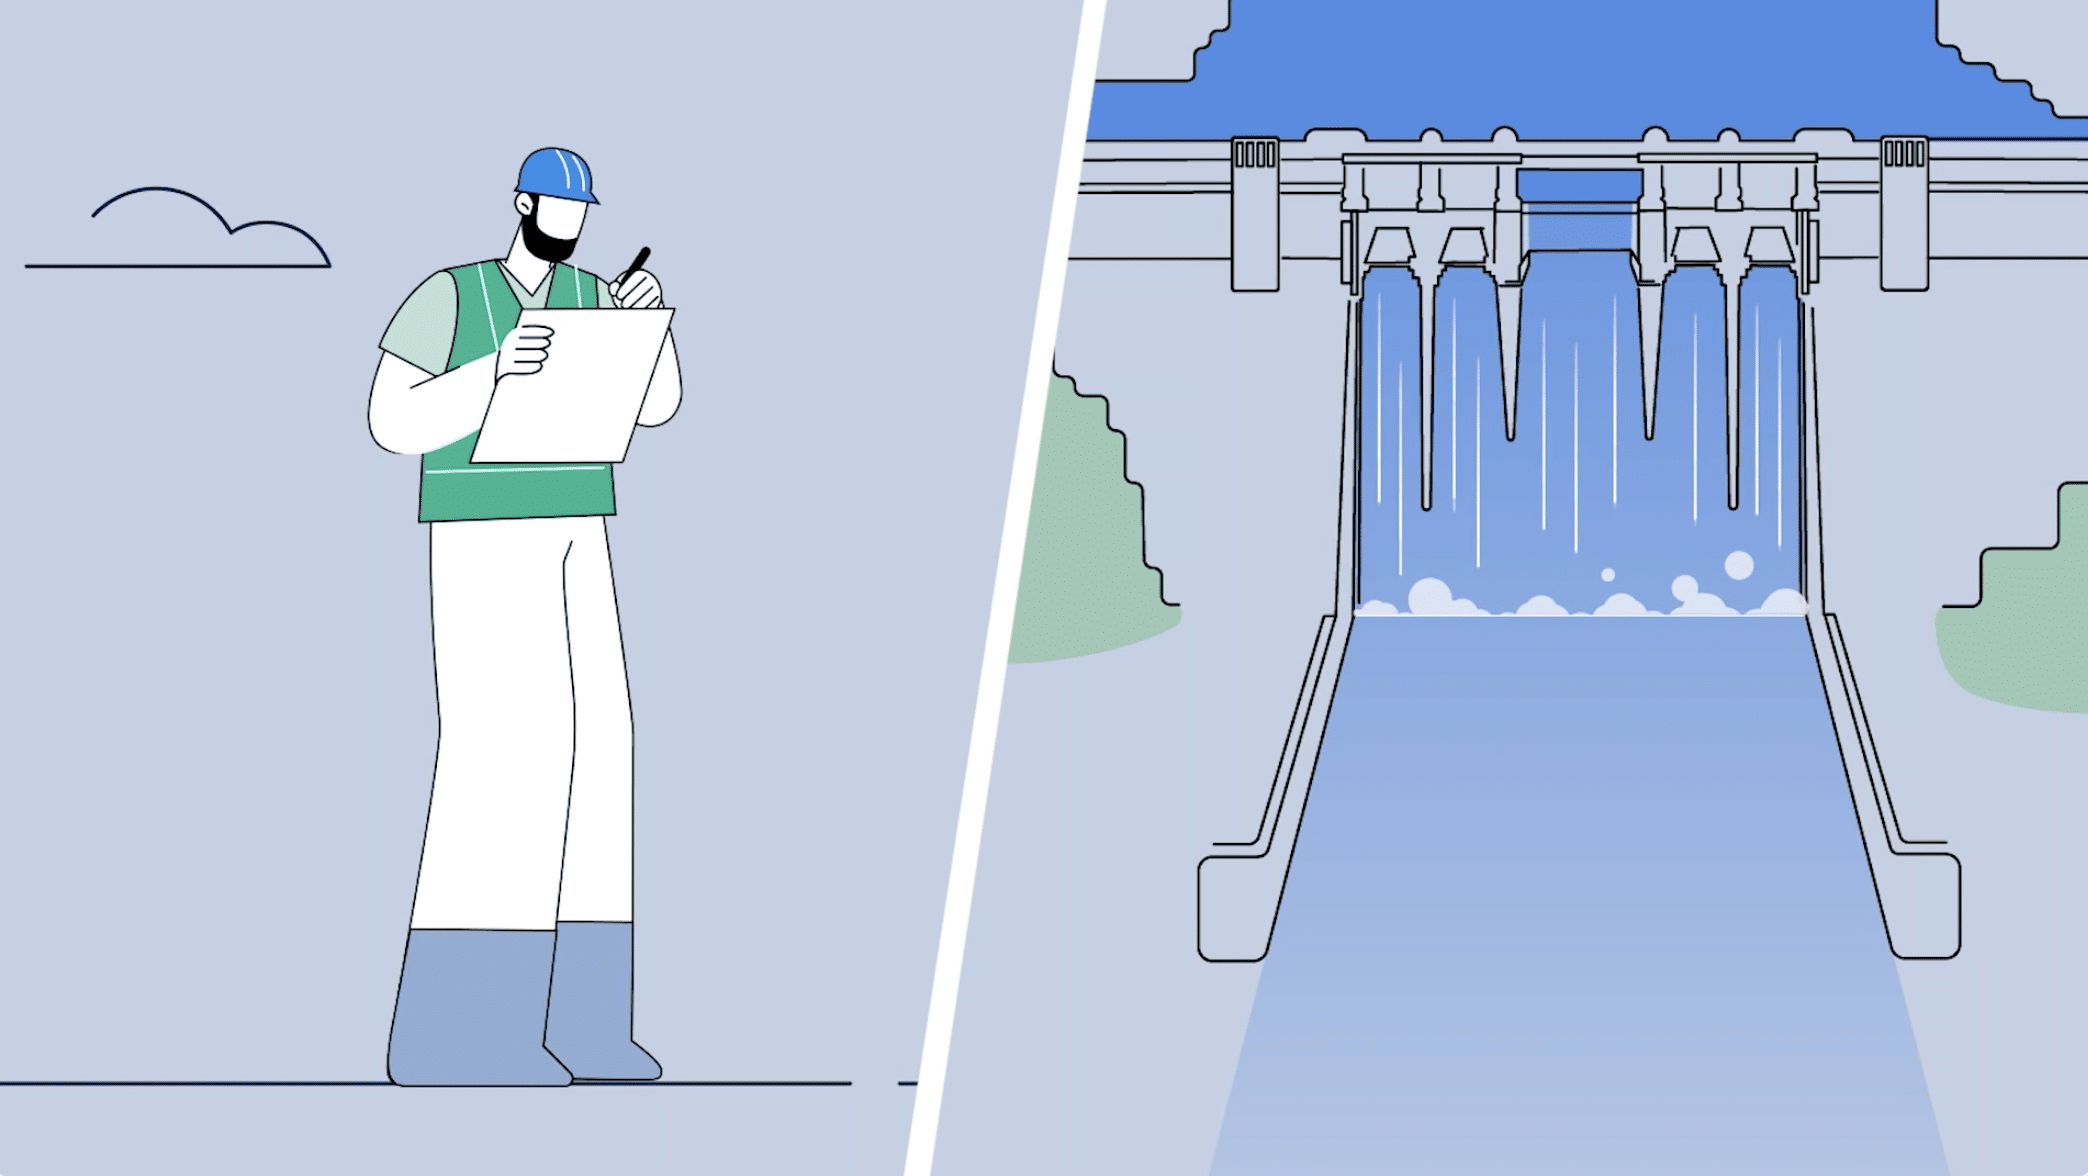
Split-screen editing displays two or more shots within the same frame, allowing viewers to see different perspectives, actions or pieces of information simultaneously. Rather than cutting between separate scenes, an editor combines them into a single composition.
This technique is particularly useful when the relationship between the visuals matters. It can highlight differences, demonstrate a process from multiple angles or show activities happening at the same time.
Show Comparisons and Multiple Perspectives
A split screen can make comparisons easier to understand because viewers don’t have to remember one image while looking at another.
For example, a product demonstration might show the product in use on one side of the screen and a close-up of its controls on the other. A training video could display the correct and incorrect ways to perform a task, making the differences immediately visible.
Split screens can also connect activities occurring in separate locations, such as employees working across different departments or teams collaborating remotely.
Create a Clear and Balanced Composition
Combining multiple shots requires more than placing them side by side. Editors need to consider how each image fits within the available space and where the viewer’s attention should go.
At 1 Minute Media, we consider the framing, scale and timing of each shot when constructing a split-screen sequence. Matching the visual weight of the images, aligning important actions and ensuring that text remains readable helps us create a composition that communicates clearly rather than competing for attention.
The layout should also suit the video’s delivery format. A split screen designed for a widescreen presentation can become difficult to read when viewed on a mobile device, particularly if it contains small text or detailed visuals.
Know When a Split Screen Is Useful
Split screens work best when showing the visuals together adds information that separate shots would not communicate as effectively.
For instance, showing two stages of a manufacturing process simultaneously can help viewers understand how they relate. But if each stage requires close attention to fine details, showing them one after another might be clearer.
The aim is to make a visual relationship easier to understand, not simply to fit more footage onto the screen.
2. Cuts and Transitions
Cuts and transitions determine how a video moves from one shot or scene to another. A straight cut switches immediately between two images, while other transitions use changes in picture or audio to connect scenes.
The right choice depends on what viewers need to understand. A simple cut can maintain the flow of an interview or demonstration, while a carefully timed audio transition can establish the next scene before it appears on screen.
Use Straight Cuts to Maintain Continuity
A straight cut is one of the most common editing techniques because it moves directly from one shot to the next without adding a visual effect.
For example, a product demonstration might begin with a wide shot showing someone using the product, then cut to a close-up of a particular feature. If the action and framing are consistent, viewers can follow the demonstration without being distracted by the edit.
Editors also consider screen direction and continuity when connecting shots. If a person moves from left to right in one shot, an unexpected reversal in the next can make the action difficult to follow.
A well-placed cut should help viewers understand what happens next, even when the camera angle or shot size changes.
Connect Scenes With J-Cuts and L-Cuts
J-cuts and L-cuts are audio editing techniques that allow sound and picture to change at different moments.
A J-cut introduces audio from the upcoming shot before its visuals appear. For example, viewers might hear an employee describing a manufacturing process while the previous scene is still on screen, before the video cuts to the employee speaking.
An L-cut allows audio from the current shot to continue after the picture changes. An interviewee’s explanation, for instance, can continue over footage showing the process they’re discussing.
These techniques are particularly useful in interviews, documentaries and corporate videos because they connect dialogue with supporting visuals without requiring every sentence to remain on a talking-head shot.
When editing an interview at 1 Minute Media, we pay attention to where a speaker introduces a new idea and where the supporting footage becomes relevant. If someone begins explaining how a product is assembled, we might cut to the assembly footage while their explanation continues. We also listen for natural pauses in speech so that introducing the next scene’s audio doesn’t interrupt an important point or make the conversation feel rushed.
Choose Visual Transitions With Purpose
Earlier digital video editing often featured conspicuous transition effects, such as wipes, spins and elaborate scene changes. When overused or poorly timed, these effects could make edits feel dated or jarring. Modern editing software offers greater control over transition timing, movement and blending, allowing editors to create smoother connections between shots when the footage calls for them.
A dissolve, for example, can suggest a gradual change in time or connect two related images. A fade to black can mark the end of a sequence or create a deliberate pause before a new section begins.
More noticeable transitions can suit certain promotional or social media videos, but using them repeatedly can distract from the content.
The key is to choose transitions based on the relationship between scenes. When the footage already connects clearly, a straightforward cut is often the strongest option.
3. Incorporating B-Roll
B-roll is supplementary footage used alongside the main footage, or A-roll, to provide visual context and illustrate what’s being discussed. In an interview-led video, the A-roll might show a person speaking to camera, while B-roll shows the people, places or activities they’re describing.
Incorporating B-roll during editing gives viewers more than a continuous talking-head shot. It allows the editor to show important details as they’re mentioned, helping viewers connect spoken information with what they see.
Use B-Roll to Illustrate Key Information
Effective B-roll should add information rather than simply fill the screen with different images.
For example, if an employee explains how a product is inspected before delivery, footage showing the inspection process helps viewers understand what that involves. A close-up of a specific quality check may be more informative than a general shot of the workplace.
The timing matters, too. If the speaker mentions a particular tool or action, showing it at that point makes the connection immediately clear. Introducing the footage too early or too late can weaken that relationship.
Cover Edits Without Disrupting the Story
B-roll also helps editors make changes to an interview or presentation without drawing attention to every cut.
Removing a repeated phrase or combining two useful parts of an interview can create a visible jump in the speaker’s position. Placing relevant B-roll over the edit allows the audio to continue while the picture shows something connected to the discussion.
At 1 Minute Media, when we’re refining an interview, we look for opportunities to use supporting footage where it genuinely adds context.
If we remove an unnecessary pause from a customer’s testimonial, for instance, we can cover the resulting picture cut with footage of the product or service they’re discussing. That keeps the edit visually consistent while giving viewers something useful to see.
B-roll shouldn’t be used to disguise an awkward change in meaning. The edited dialogue still needs to sound natural and accurately represent what the speaker intended.
Match Supporting Footage to the Main Sequence
B-roll needs to fit the surrounding footage, particularly when shots appear to show the same activity or moment.
Editors check details such as lighting, screen direction, movement and the order of actions. For example, if a wide shot shows someone picking up a tool with their right hand, cutting to a close-up that shows a different action or position can create a noticeable continuity error.
Shot duration is another consideration. Viewers need enough time to recognise what they’re looking at, especially when the footage illustrates a technical process or an unfamiliar product.
The strongest B-roll selections support the information being communicated while maintaining a clear visual connection between shots.
4. Pacing and Rhythm
Pacing determines how quickly a video moves from one shot or idea to the next, while rhythm describes the pattern created by those editing decisions. Together, they influence how viewers experience the story, where their attention goes and how much time they have to absorb information.
Good pacing isn’t necessarily fast pacing. It’s about giving each shot enough time to communicate its purpose without allowing the sequence to lose momentum.
Adjust Shot Duration to Suit the Message
Not every shot needs the same amount of screen time. A close-up demonstrating a technical process needs enough time for viewers to understand what’s happening, while a sequence of event highlights can use shorter shots to convey energy and excitement.
For example, a corporate interview often benefits from a measured pace that allows important statements to register. A promotional video, on the other hand, can use faster editing during moments of action while slowing down to emphasise a key product feature or message.
Some shots also contain their own visual rhythm. A rack-focus shot, for example, shifts focus from one subject to another within the same frame, directing the viewer’s attention without requiring a cut. Although the focus change is typically captured during filming, the editor needs to allow enough screen time for viewers to register the shift before moving to the next shot.
Edit With Dialogue, Action and Music
The timing of a cut should take into account what’s happening within the footage, not just how long the shot has been on screen.
In an interview, cutting immediately after every sentence can make the delivery feel abrupt. Allowing a natural pause or reaction to remain can give an important statement more weight. In an action sequence, cutting as a movement begins or completes can help the next shot feel connected to the previous one.
Music can also provide a rhythmic structure, particularly in event highlights and promotional videos. Editors might align selected cuts with changes in the music, such as the start of a new phrase or a stronger beat. However, cutting on every beat can become predictable and draw attention away from the footage.
At 1 Minute Media, we assess pacing by watching how each sequence plays from beginning to end, rather than judging individual cuts in isolation. We look for moments where the viewer needs more time to understand an action, where a pause strengthens a speaker’s point or where a shot has served its purpose and can end sooner. We also check how changes in the music and natural sounds affect the flow, adjusting cut points so the picture and soundtrack work together without feeling overly synchronised.
Make Every Edit Count
Effective video editing isn’t about using as many techniques or effects as possible. It’s about choosing the right approach for the footage and the message, whether that means showing two perspectives at once, connecting scenes smoothly or giving an important moment more time on screen.
At 1 Minute Media, we bring these decisions into the post-production process to create videos that are clear, engaging and purposeful. If you’re planning a video for your business, contact our team to discuss how we can bring your ideas to life.